Types of Spray Paint Guns for Cabinets
Choosing the right spray paint gun can significantly impact the quality and efficiency of your cabinet painting project. Different types offer varying levels of control, finish, and cost. Understanding their strengths and weaknesses will help you make an informed decision.
Spray Paint Gun Types Compared
Selecting the appropriate spray paint gun depends on factors like project size, desired finish, and budget. Below is a comparison of three common types: HVLP, airless, and gravity feed.
| Feature | HVLP (High Volume Low Pressure) | Airless | Gravity Feed |
|---|---|---|---|
| Description | Uses large volumes of air at low pressure for a fine, even finish. | Uses high pressure to atomize paint without the need for much air. | Paint is fed by gravity from a container above the gun. |
| Pros | Excellent atomization, minimal overspray, good for detailed work. | Fast application, suitable for large surfaces, less cleanup. | Simple design, easy to use, affordable. |
| Cons | Slower application than airless, requires a compressor. | Can produce more overspray if not used properly, requires high pressure. | Lower atomization quality compared to HVLP, less control over paint flow. |
| Nozzle Size (Typical) | 1.0-1.8 mm | 0.015-0.021 inch | 1.0-1.5 mm |
| Fluid Flow Control | Adjustable needle valve | Adjustable pressure regulator | Adjustable needle valve |
| Ease of Cleaning | Moderate | Easy | Easy |
| Price Range | $100 – $500 | $150 – $400 | $30 – $150 |
Spray Gun Components
Understanding the parts of your spray gun is crucial for proper operation and maintenance. A typical spray gun consists of several key components working together.
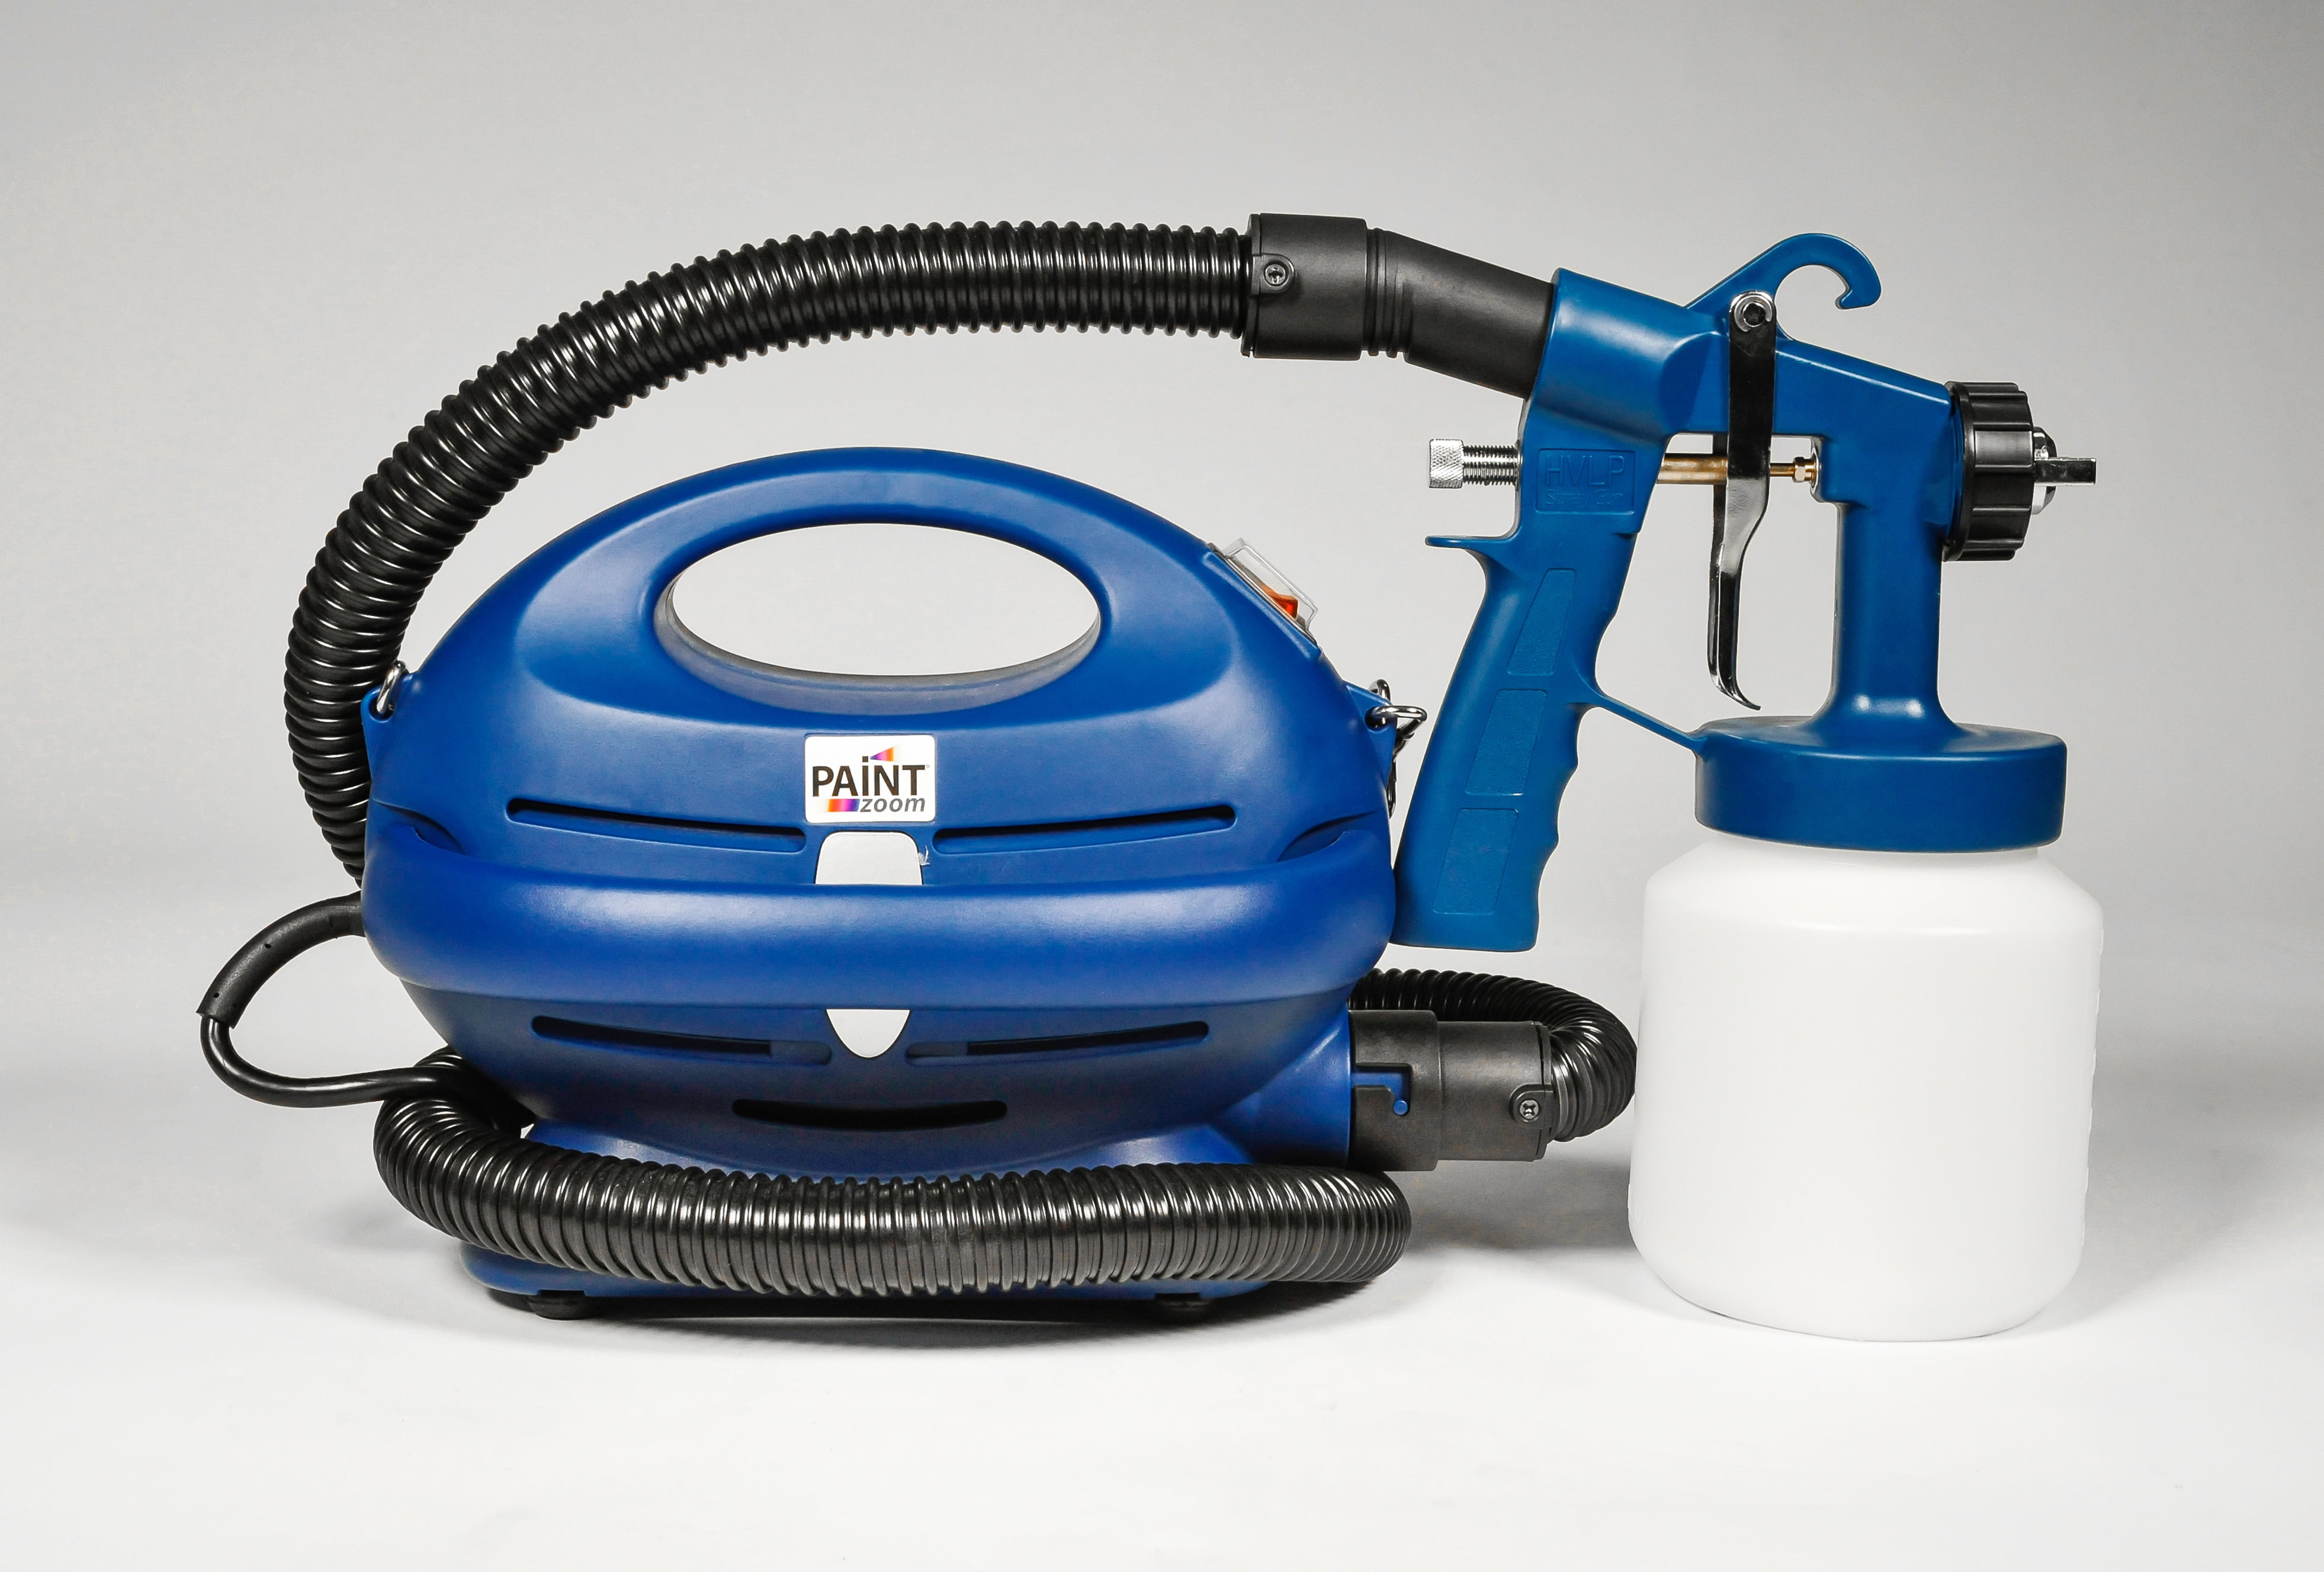
Imagine a diagram showing a spray gun. The top portion is the paint container (reservoir) where the paint is stored. A tube runs from the reservoir down to the gun’s body. This tube feeds the paint to the nozzle. The nozzle is the very tip of the gun, responsible for atomizing the paint into a fine mist. Behind the nozzle, you’ll find the needle, which controls the flow of paint. Adjusting the needle regulates the amount of paint released. The air cap surrounds the nozzle, shaping the paint spray pattern. A trigger mechanism activates the air and paint flow. Finally, there is a fluid adjustment knob to control the amount of paint that passes through the nozzle. Proper cleaning of each of these components after use is essential for the longevity of the tool.
Preparation and Application Techniques: Spray Paint Gun For Cabinets

Transforming your cabinets with a spray paint gun requires careful preparation and precise application. A little patience and attention to detail will yield stunning results, creating a professional-looking finish that will enhance your kitchen or bathroom for years to come. Let’s explore the steps involved.
Cabinet Preparation
Proper preparation is key to a flawless finish. Skipping these steps can lead to an uneven, unprofessional look. Take your time and follow these steps carefully.
- Cleaning: Begin by thoroughly cleaning your cabinets. Remove grease, grime, and any loose paint or debris using a degreaser and a soft cloth or sponge. Allow them to dry completely.
- Sanding: Once dry, lightly sand the cabinet surfaces with fine-grit sandpaper (around 220-grit). This creates a slightly rough surface for better paint adhesion. Focus on smoothing any imperfections, but avoid sanding too aggressively, which could damage the wood.
- Priming: Apply a high-quality primer designed for cabinets. This provides a uniform base for your topcoat and helps prevent the wood grain from showing through. Apply thin, even coats, allowing each to dry completely before applying the next.
- Masking: Protect areas you don’t want to be painted, such as hardware, countertops, and walls, using painter’s tape and drop cloths. Carefully mask edges and corners for a neat finish.
Spray Painting Techniques
Using a spray gun effectively requires practice and a steady hand. These steps will help you achieve a professional-looking finish.
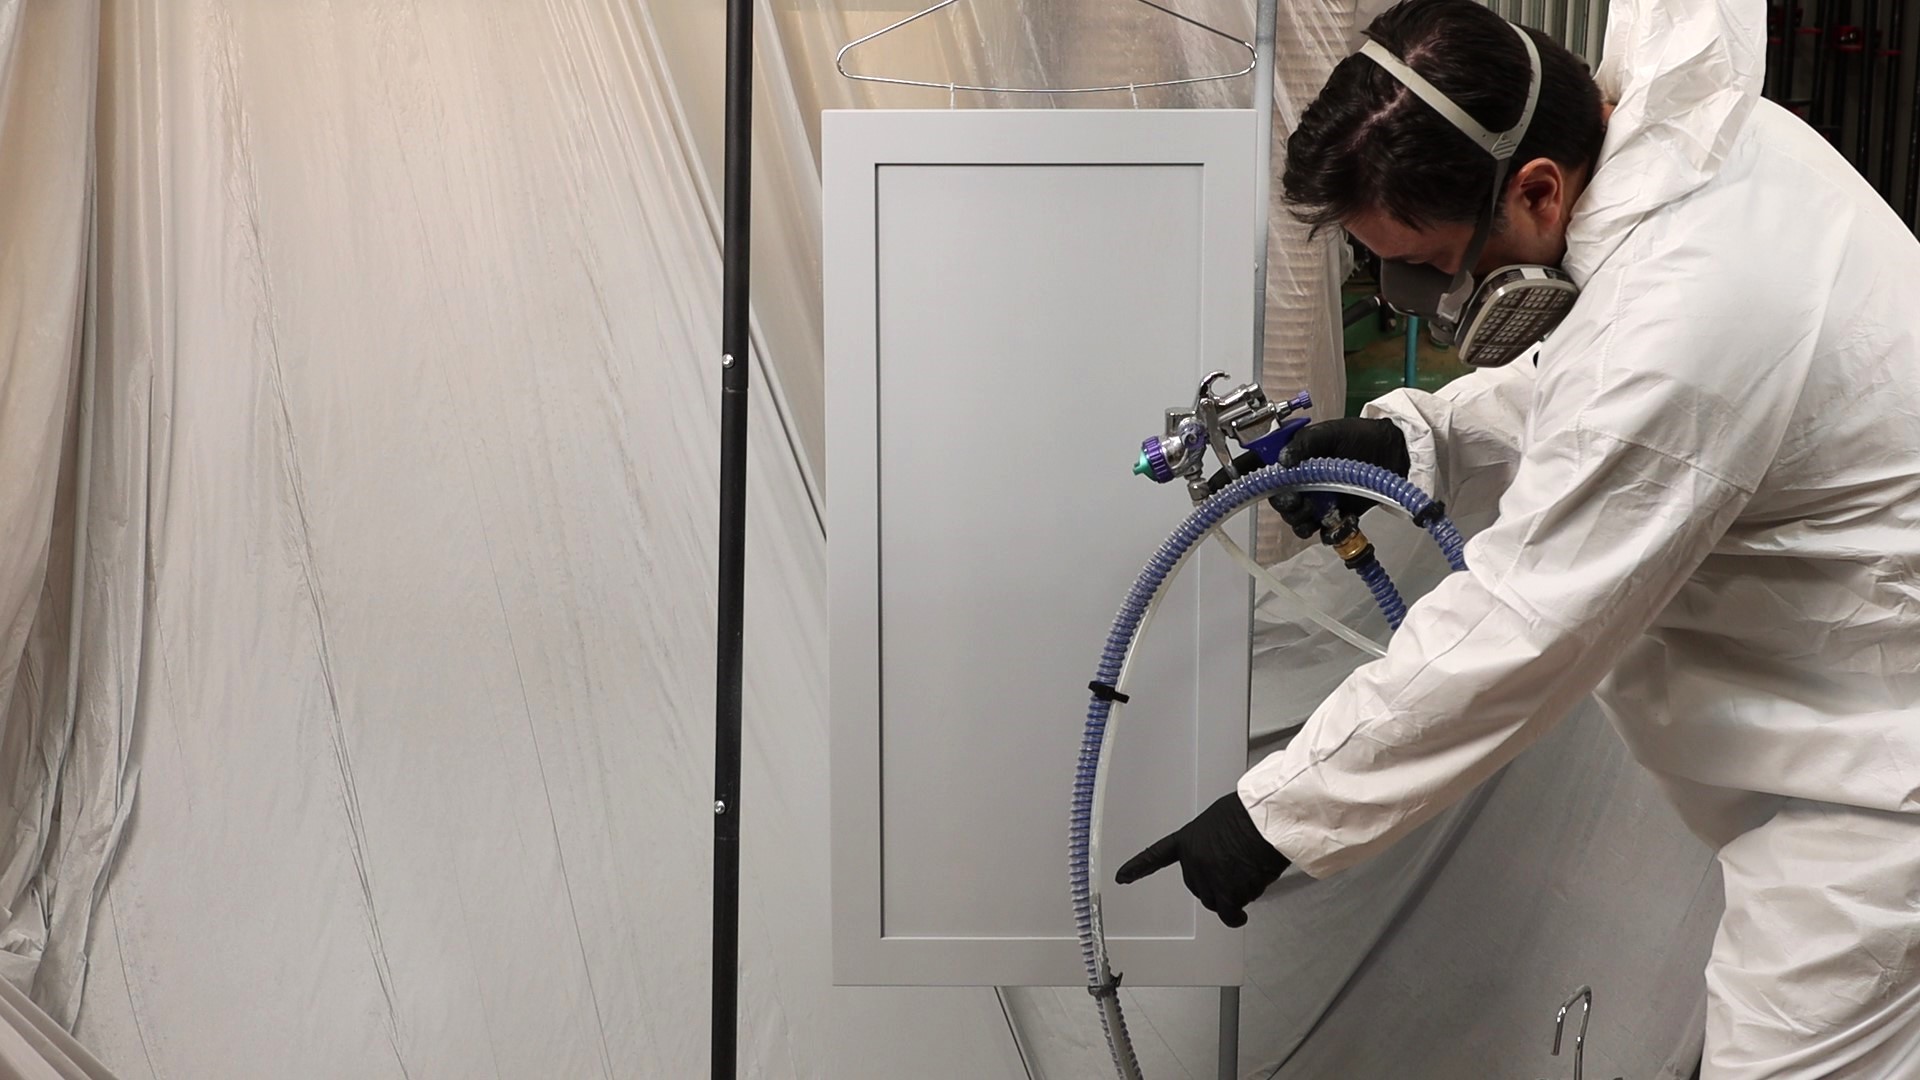
- Distance and Angle: Maintain a consistent distance of 6-8 inches from the surface and hold the gun at a 45-degree angle. Moving too close can cause runs and drips, while moving too far results in an uneven coat.
- Even Coats: Overlap each pass by about 50% to ensure complete coverage and avoid streaks. Use smooth, even strokes, keeping the gun moving at a constant speed. Avoid stopping in one place.
- Overspray Management: Work in a well-ventilated area to minimize overspray. Use drop cloths to protect surrounding surfaces and consider using a respirator to protect yourself from paint fumes.
- Multiple Thin Coats: Apply multiple thin coats rather than one thick coat. This allows each layer to dry properly and prevents runs and drips. Allow each coat to dry completely before applying the next.
Achieving Different Finishes, Spray paint gun for cabinets
The type of paint you choose directly influences the final finish. Experiment to find the best look for your cabinets.
Spray paint gun for cabinets – Gloss paints offer a high-shine, durable finish that is easy to clean. Satin paints provide a smooth, slightly less shiny finish with good durability. Matte paints create a soft, low-sheen look that hides imperfections well, but they are less durable than gloss or satin finishes. The choice depends entirely on your personal preference and the desired aesthetic.
Choosing the Right Paint and Supplies

Choosing the right paint and supplies is crucial for a professional-looking, long-lasting finish on your kitchen cabinets. The type of paint you select will significantly impact the final appearance and durability, while the right tools ensure a smooth and efficient application. Careful consideration of these factors will save you time, effort, and potential frustration down the line.
Paint Types for Cabinets
Selecting the appropriate paint depends on your desired finish and level of durability. Each type offers unique advantages and disadvantages. The following table compares three popular choices: acrylic lacquer, enamel, and polyurethane.
| Paint Type | Durability | Finish | VOC Content |
|---|---|---|---|
| Acrylic Lacquer | High; very resistant to scratches and chipping | Hard, smooth, glossy; can be applied in various sheens | Low to moderate; varies by brand and formulation |
| Enamel | Moderate to high; durable, but can be more susceptible to chipping than lacquer | Smooth, durable; available in various sheens | Moderate to high; some low-VOC options available |
| Polyurethane | Very high; exceptionally durable and resistant to wear and tear | Durable, hard; available in various sheens, often used for a protective topcoat | Moderate to high; low-VOC options are increasingly available |
Essential Supplies
Having the right supplies on hand is essential for a smooth and successful painting project. Proper preparation will minimize cleanup and maximize your results.
A well-stocked supply list includes:
- Painter’s tape (high-quality, low-residue tape is recommended)
- Drop cloths (plastic sheeting or canvas drop cloths)
- Respirator (to protect against paint fumes)
- Safety glasses or goggles
- Gloves (nitrile gloves are ideal)
- Tack cloths (for removing dust and debris)
- Cleaning supplies (rags, soapy water, denatured alcohol)
- Sandpaper (various grits for preparation and smoothing)
Achieving Optimal Spray Gun Performance
The viscosity of the paint and the spray gun settings are interconnected and critical for a flawless finish. Too thick, and the paint will run; too thin, and the coverage will be uneven.
Tips for optimal performance:
- Paint Viscosity: Follow the manufacturer’s instructions for thinning the paint. Generally, the paint should be thin enough to flow smoothly through the spray gun without clogging, but not so thin that it runs excessively.
- Spray Gun Adjustments: Experiment with the air pressure, fluid flow, and spray pattern adjustments on your spray gun to find the optimal settings for your paint and project. Start with low settings and gradually increase until you achieve an even, smooth coat. Practice on a scrap piece of wood first.
- Multiple Thin Coats: It’s better to apply several thin coats than one thick coat to avoid runs and drips. Allow each coat to dry completely before applying the next.
